为找教程的网友们整理了相关的编程文章,网友阚丹丹根据主题投稿了本篇教程内容,涉及到python、django、创建应用、python Django 创建应用过程图示详解相关内容,已被696网友关注,下面的电子资料对本篇知识点有更加详尽的解释。
python Django 创建应用过程图示详解
如图输入如下命令
python manage.py startapp apitest

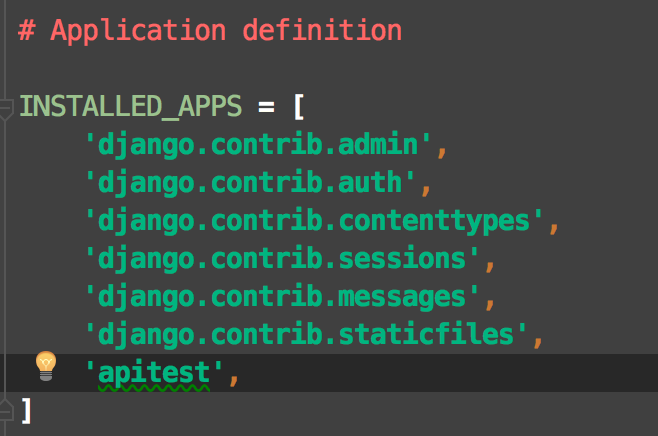
添加应用到 autotest项目项目下
在settings.pyo 中加入“apitest”,如下图
创建视图
在apitest/views中添加test 函数
from django.shortcuts import render
from django.http import HttpResponse

# Create your views here.

def test(request):
  return HttpResponse('hello test')
创建映射
现在把视图中的函数映射到浏览器前端页面,在autotest/urls.py 中加入如下内容:
from django.contrib import admin
from django.urls import path

from apitest import views  # 导入 views ,注意项目路径,打开时要 从autotest目录打开。

urlpatterns = [
  path('admin/', admin.site.urls),
  path('test/',views.test),   # 添加 路径及函数
]
启动服务:
python manage.py runserver
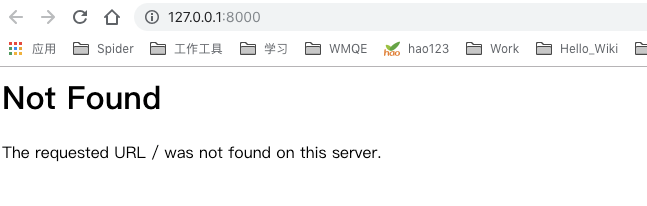
若此时访问 http://127.0.0.1:8000/
会提示如下错误
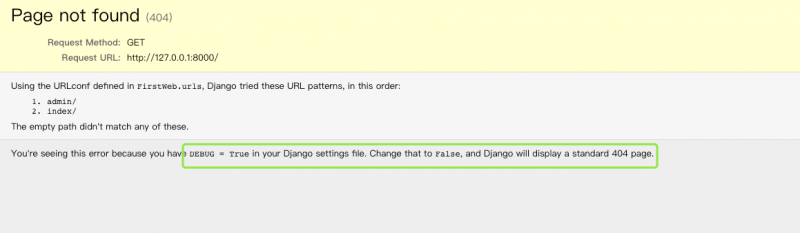
根据提示可以到指定setting 文件下修改配置

修改后又提示如图错误,提示为:应该 设置 ALLOWED_HOSTS = [] 因为我们的服务地址是 127.0.0.1 。所以设置为该值,如果输入其他值,访问127.0.0.1,则无法访问。如下图。
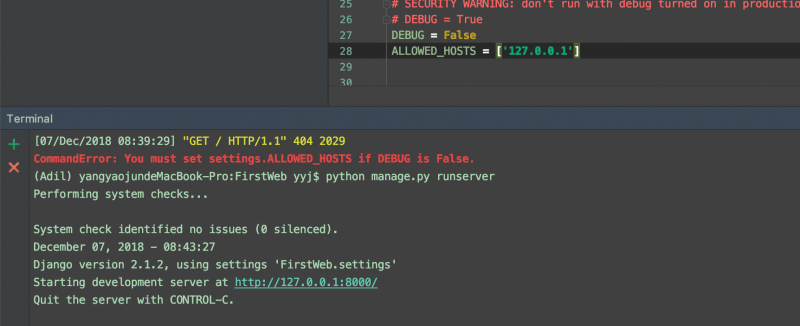
再次执行即不再报错。
再次访问时提示
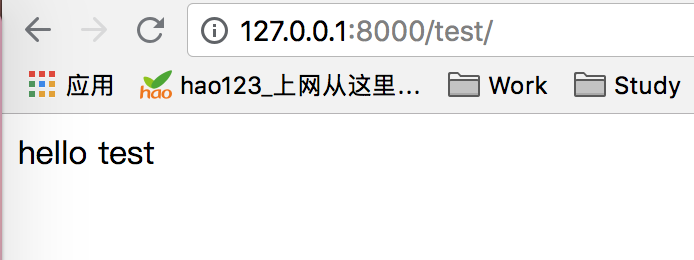
此时可以加上访问路径,如下操作。
浏览器访问:http://127.0.0.1:8000/test/
创建模版
1、在apitest 下创建templates 文件夹,在该文件夹下创建login.html文件
并添加如下内容:
<!DOCTYPE html>
<html lang="en">
<head>
  <meta http-equiv="Content-Type" content="test/html; charset=UTF-8">
  <title>Login</title>
</head>
<body>
<h1>login</h1>
<form method="post" action="login/">
  {% csrf_token %}
  <br> <input name="username" type="text" placeholder="username">
  <br> <input name="password" type="password" placeholder="password">
  {{ error }} <br>
  <br> <button id="submit" type="submit">submit</button>


</form>
</body>
</html>
2、在autotest/urls.py 中创建映射
from django.contrib import admin
from django.urls import path

from apitest import views  # 导入 views ,注意项目路径,打开时要 从autotest目录打开。

urlpatterns = [
  path('admin/', admin.site.urls),
  path('test/',views.test),   # 添加 路径及映射函数
  path('login/',views.login),  # 这里添加这个路径,当访问login/ 时 会映射到views里的login函数
]
3、在apitest/views.py 中创建login函数
from django.shortcuts import render
from django.http import HttpResponse

# Create your views here.

def test(request):
  return HttpResponse('hello test')

def login(request):
  return render(request,'login.html')  # 这里返回 使用了render 返回指定页面内容。
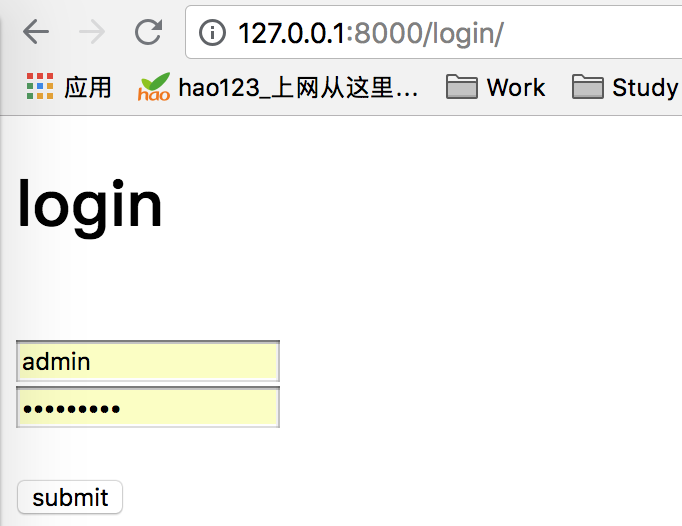
4、访问登录页:http://127.0.0.1:8000/login/ 页面展示如下:
以上就是本文的全部内容,希望对大家的学习有所帮助,也希望大家多多支持码农之家。