给网友们整理相关的编程文章,网友段光济根据主题投稿了本篇教程内容,涉及到Spring、AOP核心功能、Spring、AOP核心技术、Spring AOP相关内容,已被647网友关注,如果对知识点想更进一步了解可以在下方电子资料中获取。
Spring AOP
前言
spring一直以来都是我们Java开发中最核心的一个技术,其中又以ioc和aop为主要技术,本篇文章主要讲一下aop的核心技术,也就是ProxyFactory技术的使用,而基本的jdk动态代理和cglib代理技术并不涉及,如有需要,请自行寻找资料
背景
package com.zxc.boot.proxy;
public class OrderService {
    public void create() {
        System.out.println("创建订单");
    }
    public void payOrder() {
        System.out.println("支付订单");
    }
}
假设你有如上的对象,需要对两个方法前面都插入生成订单号的逻辑,如果是传统的方式就可以直接加入,但是过于麻烦,如果使用spring的话,就可以借助如下的工具类,如
ProxyFactory
package com.zxc.boot.proxy;
import org.springframework.aop.MethodBeforeAdvice;
import org.springframework.aop.framework.ProxyFactory;
import java.lang.reflect.Method;
public class Main {
    public static void main(String[] args) {
        //被代理对象
        OrderService orderService = new OrderService();
        ProxyFactory proxyFactory = new ProxyFactory();
        //设置代理对象
        proxyFactory.setTarget(orderService);
        //添加代理逻辑
        proxyFactory.addAdvice(new MethodBeforeAdvice() {
            @Override
            public void before(Method method, Object[] objects, Object o) throws Throwable {
                System.out.println("-----生成订单号------");
            }
        });
        //获取代理对象
        OrderService orderServiceProxy = (OrderService) proxyFactory.getProxy();
        orderServiceProxy.create();
        orderServiceProxy.payOrder();
    }
}
生成的结果如下(注:这里没有接口,肯定是使用cglib生成的代理对象)
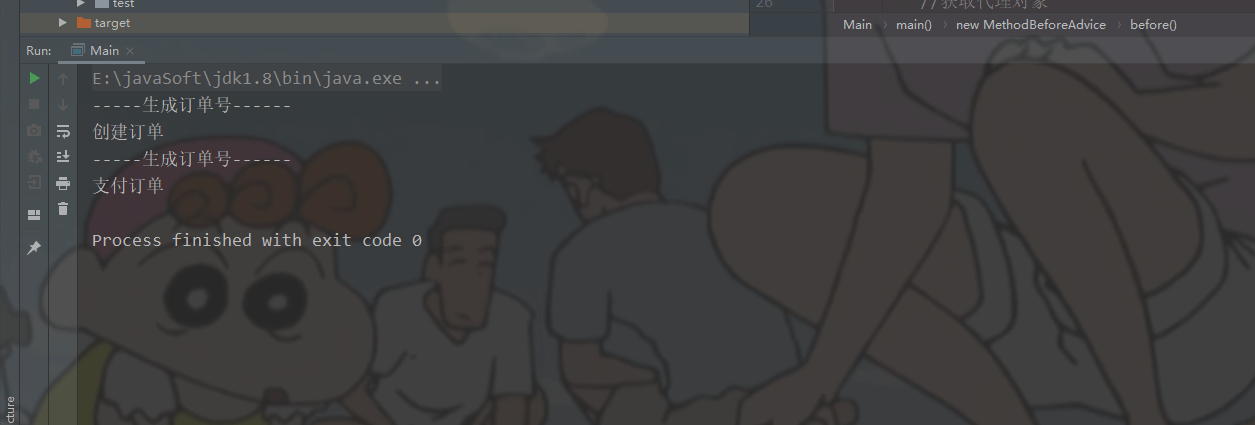
是不是很简单呢,底层逻辑都是spring帮我们实现的,而MethodBeforeAdvice就是进行的代理逻辑,它的父接口是
Advice
这个简单理解就是对象被代理的逻辑,主要有以下的实现,如
MethodBeforeAdvice、AfterReturningAdvice、MethodInterceptor等等见名思义
但是这里有一个问题,我们两个方法都被进行了代理,那么是否有办法实现只代理某个方法,而某些方法不进行代理呢,答案是有的,代码如下
package com.zxc.boot.proxy;
import org.aopalliance.aop.Advice;
import org.springframework.aop.MethodBeforeAdvice;
import org.springframework.aop.Pointcut;
import org.springframework.aop.PointcutAdvisor;
import org.springframework.aop.framework.ProxyFactory;
import org.springframework.aop.support.StaticMethodMatcherPointcut;
import java.lang.reflect.Method;
public class Main2 {
    public static void main(String[] args) {
        //被代理对象
        OrderService orderService = new OrderService();
        ProxyFactory proxyFactory = new ProxyFactory();
        //设置代理对象
        proxyFactory.setTarget(orderService);
        //添加代理逻辑
        proxyFactory.addAdvisor(new PointcutAdvisor() {
            @Override
            public Pointcut getPointcut() {
                //哪些方法进行代理
                return new StaticMethodMatcherPointcut() {
                    @Override
                    public boolean matches(Method method, Class<?> aClass) {
                        //方法名为create进行代理
                        return method.getName().equals("create");
                    }
                };
            }
            //代理逻辑
            @Override
            public Advice getAdvice() {
                return new MethodBeforeAdvice() {
                    @Override
                    public void before(Method method, Object[] objects, Object o) throws Throwable {
                        System.out.println("-----创建订单-----");
                    }
                };
            }
            @Override
            public boolean isPerInstance() {
                return false;
            }
        });
        //获取代理对象
        OrderService orderServiceProxy = (OrderService) proxyFactory.getProxy();
        orderServiceProxy.create();
        orderServiceProxy.payOrder();
    }
}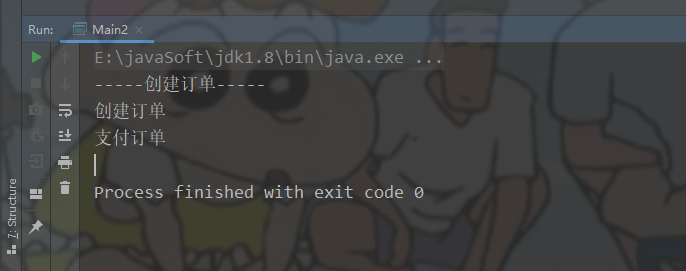
可以看到,只有创建订单的方法才会添加代理逻辑,而支付订单并不会加入这段逻辑,而核心的功能点就是依赖于Pointcut对象
Pointcut
Pointcut简单理解就是切掉,也就是用于判断要在哪些方法或者哪些类注入代理逻辑用的
Advisor
而Advisor简单理解就是Advice和Pointcut的组合,spring当中进行代理的逻辑也是用Advisor为维度进行处理的
以上,就是使用ProxyFactory进行代理逻辑的spring工具类,但是很明显这样使用相对来说还是比较麻烦的,所以spring提供了简易的方式让我们使用这种逻辑,如下
Spring提供的代理支持
ProxyFactoryBean
package com.zxc.boot.proxy;
import org.springframework.aop.MethodBeforeAdvice;
import org.springframework.aop.framework.ProxyFactoryBean;
import org.springframework.context.annotation.Bean;
import org.springframework.context.annotation.ComponentScan;
import org.springframework.context.annotation.Configuration;
import java.lang.reflect.Method;
@Configuration
@ComponentScan("com.zxc.boot.proxy")
public class AppConfig {
    @Bean
    public ProxyFactoryBean proxyFactoryBean() {
        ProxyFactoryBean proxyFactoryBean = new ProxyFactoryBean();
        proxyFactoryBean.setTarget(new OrderService());
        proxyFactoryBean.addAdvice(new MethodBeforeAdvice() {
            @Override
            public void before(Method method, Object[] objects, Object o) throws Throwable {
                System.out.println("-------创建订单-------");
            }
        });
        return proxyFactoryBean;
    }
}
package com.zxc.boot.proxy;
import org.springframework.context.ApplicationContext;
import org.springframework.context.annotation.AnnotationConfigApplicationContext;
public class SpringApplication {
public static void main(String[] args) {
ApplicationContext applicationContext = new AnnotationConfigApplicationContext(AppConfig.class);
OrderService orderService = applicationContext.getBean(OrderService.class);
orderService.create();
orderService.payOrder();
}
}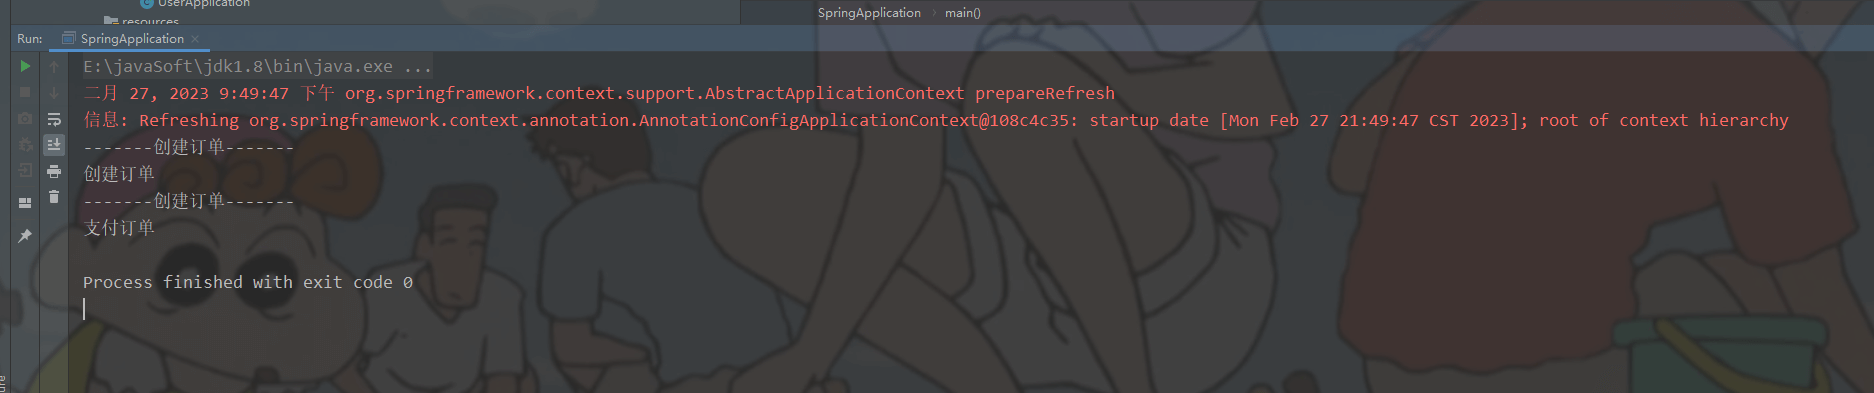
只要进行如上的配置,就可以识别到了,这种方式其实跟原有的差不多,只不过spring帮我们处理了最终会返回对应的代理bean回去,但是还有更简单的方式,如下
DefaultPointcutAdvisor
package com.zxc.boot.proxy;
import org.springframework.aop.MethodBeforeAdvice;
import org.springframework.aop.framework.autoproxy.DefaultAdvisorAutoProxyCreator;
import org.springframework.aop.support.DefaultPointcutAdvisor;
import org.springframework.aop.support.NameMatchMethodPointcut;
import org.springframework.context.annotation.Bean;
import org.springframework.context.annotation.ComponentScan;
import org.springframework.context.annotation.Configuration;
import java.lang.reflect.Method;
@Configuration
@ComponentScan("com.zxc.boot.proxy")
public class AppConfig2 {
    @Bean
    public OrderService orderService() {
        return new OrderService();
    }
    @Bean
    public DefaultPointcutAdvisor defaultPointcutAdvisor() {
        //方法名称蓝机器
        NameMatchMethodPointcut nameMatchMethodPointcut = new NameMatchMethodPointcut();
        nameMatchMethodPointcut.addMethodName("create");
        //设置拦截和代理逻辑
        DefaultPointcutAdvisor defaultPointcutAdvisor = new DefaultPointcutAdvisor();
        defaultPointcutAdvisor.setPointcut(nameMatchMethodPointcut);
        defaultPointcutAdvisor.setAdvice(new MethodBeforeAdvice() {
            @Override
            public void before(Method method, Object[] args, Object target) throws Throwable {
                System.out.println("-------创建订单------");
            }
        });
        return defaultPointcutAdvisor;
    }
    //核心类,一个BeanPostProccess后置处理器,用于把扫描到的Advisor进行代理
    @Bean
    public DefaultAdvisorAutoProxyCreator defaultAdvisorAutoProxyCreator() {
        return new DefaultAdvisorAutoProxyCreator();
    }
}
package com.zxc.boot.proxy;
import org.springframework.context.ApplicationContext;
import org.springframework.context.annotation.AnnotationConfigApplicationContext;
public class SpringApplication {
public static void main(String[] args) {
ApplicationContext applicationContext = new AnnotationConfigApplicationContext(AppConfig2.class);
OrderService orderService = applicationContext.getBean(OrderService.class);
orderService.create();
orderService.payOrder();
}
}
不用我们多做其他处理,就可以对ioc容器中方法有create的类进行代理,你可以再添加一个类,如下
package com.zxc.boot.proxy;
public class UserService {
    public void create() {
        System.out.println("用户service哦哦哦");
    }
}
package com.zxc.boot.proxy;
import org.springframework.context.ApplicationContext;
import org.springframework.context.annotation.AnnotationConfigApplicationContext;
public class SpringApplication {
public static void main(String[] args) {
ApplicationContext applicationContext = new AnnotationConfigApplicationContext(AppConfig2.class);
OrderService orderService = applicationContext.getBean(OrderService.class);
orderService.create();
orderService.payOrder();
UserService userService = applicationContext.getBean(UserService.class);
userService.create();
}
}
这样的方式就方便多了
优化处理
其实DefaultAdvisorAutoProxyCreator只是需要导入到ioc容器中,所以配置类可以使用import进行处理,效果是一样的,如下
package com.zxc.boot.proxy;
import org.springframework.aop.MethodBeforeAdvice;
import org.springframework.aop.framework.autoproxy.DefaultAdvisorAutoProxyCreator;
import org.springframework.aop.support.DefaultPointcutAdvisor;
import org.springframework.aop.support.NameMatchMethodPointcut;
import org.springframework.context.annotation.Bean;
import org.springframework.context.annotation.ComponentScan;
import org.springframework.context.annotation.Configuration;
import org.springframework.context.annotation.Import;
import java.lang.reflect.Method;
@Configuration
@ComponentScan("com.zxc.boot.proxy")
@Import(DefaultAdvisorAutoProxyCreator.class)
public class AppConfig2 {
    @Bean
    public UserService userService() {
        return new UserService();
    }
    @Bean
    public OrderService orderService() {
        return new OrderSepackage com.zxc.boot.proxy;
import org.springframework.aop.MethodBeforeAdvice;
import org.springframework.aop.framework.autoproxy.DefaultAdvisorAutoProxyCreator;
import org.springframework.aop.support.DefaultPointcutAdvisor;
import org.springframework.aop.support.NameMatchMethodPointcut;
import org.springframework.context.annotation.Bean;
import org.springframework.context.annotation.ComponentScan;
import org.springframework.context.annotation.Configuration;
import org.springframework.context.annotation.Import;
import java.lang.reflect.Method;
@Configuration
@ComponentScan("com.zxc.boot.proxy")
@Import(DefaultAdvisorAutoProxyCreator.class)
public class AppConfig2 {
    @Bean
    public UserService userService() {
        return new UserService();
    }
    @Bean
    public OrderService orderService() {
        return new OrderService();
    }
    @Bean
    public DefaultPointcutAdvisor defaultPointcutAdvisor() {
        //方法名称蓝机器
        NameMatchMethodPointcut nameMatchMethodPointcut = new NameMatchMethodPointcut();
        nameMatchMethodPointcut.addMethodName("create");
        //设置拦截和代理逻辑
        DefaultPointcutAdvisor defaultPointcutAdvisor = new DefaultPointcutAdvisor();
        defaultPointcutAdvisor.setPointcut(nameMatchMethodPointcut);
        defaultPointcutAdvisor.setAdvice(new MethodBeforeAdvice() {
            @Override
            public void before(Method method, Object[] args, Object target) throws Throwable {
                System.out.println("-------创建订单------");
            }
        });
        return defaultPointcutAdvisor;
    }
//    //核心类,一个BeanPostProccess后置处理器,用于把扫描到的Advisor进行代理
//    @Bean
//    public DefaultAdvisorAutoProxyCreator defaultAdvisorAutoProxyCreator() {
//        return new DefaultAdvisorAutoProxyCreator();
//    }
}rvice();
    }
    @Bean
    public DefaultPointcutAdvisor defaultPointcutAdvisor() {
        //方法名称蓝机器
        NameMatchMethodPointcut nameMatchMethodPointcut = new NameMatchMethodPointcut();
        nameMatchMethodPointcut.addMethodName("create");
        //设置拦截和代理逻辑
        DefaultPointcutAdvisor defaultPointcutAdvisor = new DefaultPointcutAdvisor();
        defaultPointcutAdvisor.setPointcut(nameMatchMethodPointcut);
        defaultPointcutAdvisor.setAdvice(new MethodBeforeAdvice() {
            @Override
            public void before(Method method, Object[] args, Object target) throws Throwable {
                System.out.println("-------创建订单------");
            }
        });
        return defaultPointcutAdvisor;
    }
//    //核心类,一个BeanPostProccess后置处理器,用于把扫描到的Advisor进行代理
//    @Bean
//    public DefaultAdvisorAutoProxyCreator defaultAdvisorAutoProxyCreator() {
//        return new DefaultAdvisorAutoProxyCreator();
//    }
}
如果你不导入DefaultAdvisorAutoProxyCreator对象,那么代理逻辑就不会生效,本质就是DefaultAdvisorAutoProxyCreator类就是一个BeanPostProcessor处理器,它会针对所有类进行判断然后处理
总结
spring的aop核心技术就是最终会利用到这个对象进行代理,而这里先把底层的代理逻辑进行讲明,后面对整个aop流程进行理解就方便多了
到此这篇关于Spring AOP核心功能示例代码详解的文章就介绍到这了,更多相关Spring AOP内容请搜索码农之家以前的文章或继续浏览下面的相关文章希望大家以后多多支持码农之家!