本站收集了一篇相关的编程文章,网友顾皓轩根据主题投稿了本篇教程内容,涉及到SpringBoot @Cacheable注解、SpringBoot @Cacheable实现缓存、SpringBoot @Cacheable相关内容,已被495网友关注,内容中涉及的知识点可以在下方直接下载获取。
SpringBoot @Cacheable
一、Spring从3.1开始支持Cache
Spring 从 3.1 开始就引入了对 Cache 的支持。定义了 org.springframework.cache.Cache和 org.springframework.cache.CacheManager接口来统一不同的缓存技术。并支持使用 JCache(JSR-107)注解简化我们的开发。
其使用方法和原理都类似于 Spring 对事务管理的支持,Spring Cache 是作用在方法上的,其核心思想是,当我们在调用一个缓存方法时会把该方法参数和返回结果作为一个键值对存在缓存中。
SpringBoot中提供的缓存注解@Cacheable,@Cacheable会将方法的返回值作为缓存的value,默认将方法的参数值作为缓存的key。@Cacheable可以标记在某个具体的方法上,也可以标记带一个类上,表示该类的所有方法都支持缓存。
每次调用需要缓存功能的方法时,Spring 会检查指定参数的指定目标方法是否已经被调用过,如果有就直接从缓存中获取方法调用后的结果,如果没有就调用方法并缓存结果后返回给用户,下次调用直接从缓存中获取。
二、@Cacheable常用属性
- @Cacheable添加缓存,相同条件的查询不再查询数据库,而是从缓存中查询;
- @CachePut每次都会访问数据库,并更新缓存;
- @CacheEvict清除缓存;
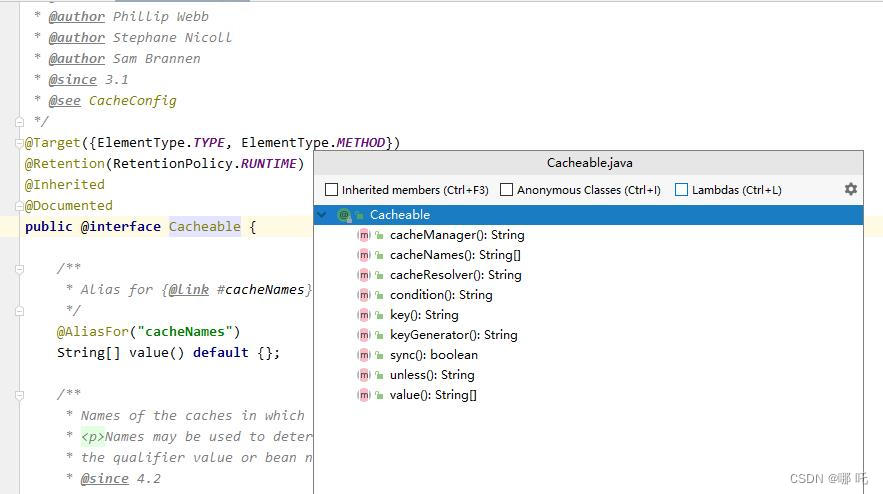
1、value/cacheNames
如上图所示,这两个属性代表的意义相同,这两个属性都是用来指定缓存组件的名称,即将方法的返回结果放在哪个缓存中,属性定义为数组,可以指定多个缓存;
2、key
可以通过 key 属性来指定缓存数据所使用的的 key,默认使用的是方法调用传过来的参数作为 key。最终缓存中存储的内容格式为:Entry<key,value> 形式。
3、condition
触发条件。这个参数是规定这个缓存触发的条件拼接,例如 condition="#area.id != 1",就是在id不为1的时候触发缓存。
4、unless
排除条件。这个参数是规定这个缓存在何时不触发,例如 unless="#result == null",不对查询结果为NULL的结果进行缓存。
5、keyGenerator
自定义的Key策略,比如缓存的Key值就是方法名。
@Configuration
public class CacheConfig{
	@Bean
	public KeyGenerator myKeyGenerator(){
		return (target,method,params)->method.getName();
	}
}
KeyGenerator 是Spring提供的一个函数式接口。
package org.springframework.cache.interceptor;
import java.lang.reflect.Method;
/**
 * Cache key generator. Used for creating a key based on the given method
 * (used as context) and its parameters.
 *
 * @author Costin Leau
 * @author Chris Beams
 * @author Phillip Webb
 * @since 3.1
 */
@FunctionalInterface
public interface KeyGenerator {
	/**
	 * Generate a key for the given method and its parameters.
	 * @param target the target instance
	 * @param method the method being called
	 * @param params the method parameters (with any var-args expanded)
	 * @return a generated key
	 */
	Object generate(Object target, Method method, Object... params);
}
通过@Cacheable(keyGenerator=“myKeyGenerator”)指定Key自定义的生成策略。
6、sync
是否使用异步模式,默认是方法执行完,以同步的方式将方法返回的结果存在缓存中。
7、cacheManager
可以用来指定缓存管理器,从哪个缓存管理器里面获取缓存。
三、整合步骤
1、加入pom
<dependency>
   <groupId>org.springframework.boot</groupId>
    <artifactId>spring-boot-starter-cache</artifactId>
</dependency>
2、启动类加@EnableCaching注解
3、controller或service加@Cacheable注解即可 四、代码实例
package com.nezha.controller;
import com.nezha.entity.Area;
import com.nezha.service.area.AreaService;
import org.springframework.beans.factory.annotation.Autowired;
import org.springframework.cache.annotation.CacheEvict;
import org.springframework.cache.annotation.Cacheable;
import org.springframework.web.bind.annotation.*;
@RestController
@RequestMapping("/area")
public class AreaController {
    @Autowired
    private AreaService areaService;
	// @Cacheable添加缓存,相同条件的查询不再查询数据库,而是从缓存中查询
    @Cacheable(cacheNames="area",key = "#id")
    @GetMapping("getAreaById")
    public Area getAreaById(Integer id) {
        return areaService.getAreaById(id);
    }
	// @CachePut每次都会访问数据库,并更新缓存
    @CachePut(cacheNames="area",key = "#id")
    @PostMapping("updateAreaById")
    public void updateAreaById(Integer id) {
        areaService.updateAreaById(id);
    }
	// @CacheEvict清除缓存
    @CacheEvict(cacheNames="area",key = "#id")
    @PostMapping("deleteAreaById")
    public void deleteAreaById(Integer id) {
        areaService.deleteAreaById(id);
    }
}
通过postman访问127.0.0.1:8080/NettyProject/area/getAreaById?id=1,第一次时控制台输出sql日志,第二次请求时,控制台无日志输出,证明未进行sql查询,查询的是@Cacheable(cacheNames="area",key = "#id")缓存的数据。
到此这篇关于SpringBoot使用@Cacheable注解实现缓存功能流程详解的文章就介绍到这了,更多相关SpringBoot @Cacheable内容请搜索码农之家以前的文章或继续浏览下面的相关文章希望大家以后多多支持码农之家!


